
Creating a staging site
A staging site is a private copy of a live site where you can try a new theme, a big plugin update, or a redesign without risking the pages that are earning. Unlimited and Enterprise VPS include one-click staging in the control panel. Starter does not; upgrading turns it on immediately.
What staging gives you
- A complete copy of the site's files and database, on a separate address that search engines do not index.
- Freedom to break things. Nothing on staging touches the live site until you push.
- A push step that copies your changes back to the live site when you are happy.
Create a staging copy
- In your account area, open the site and press Open control panel.
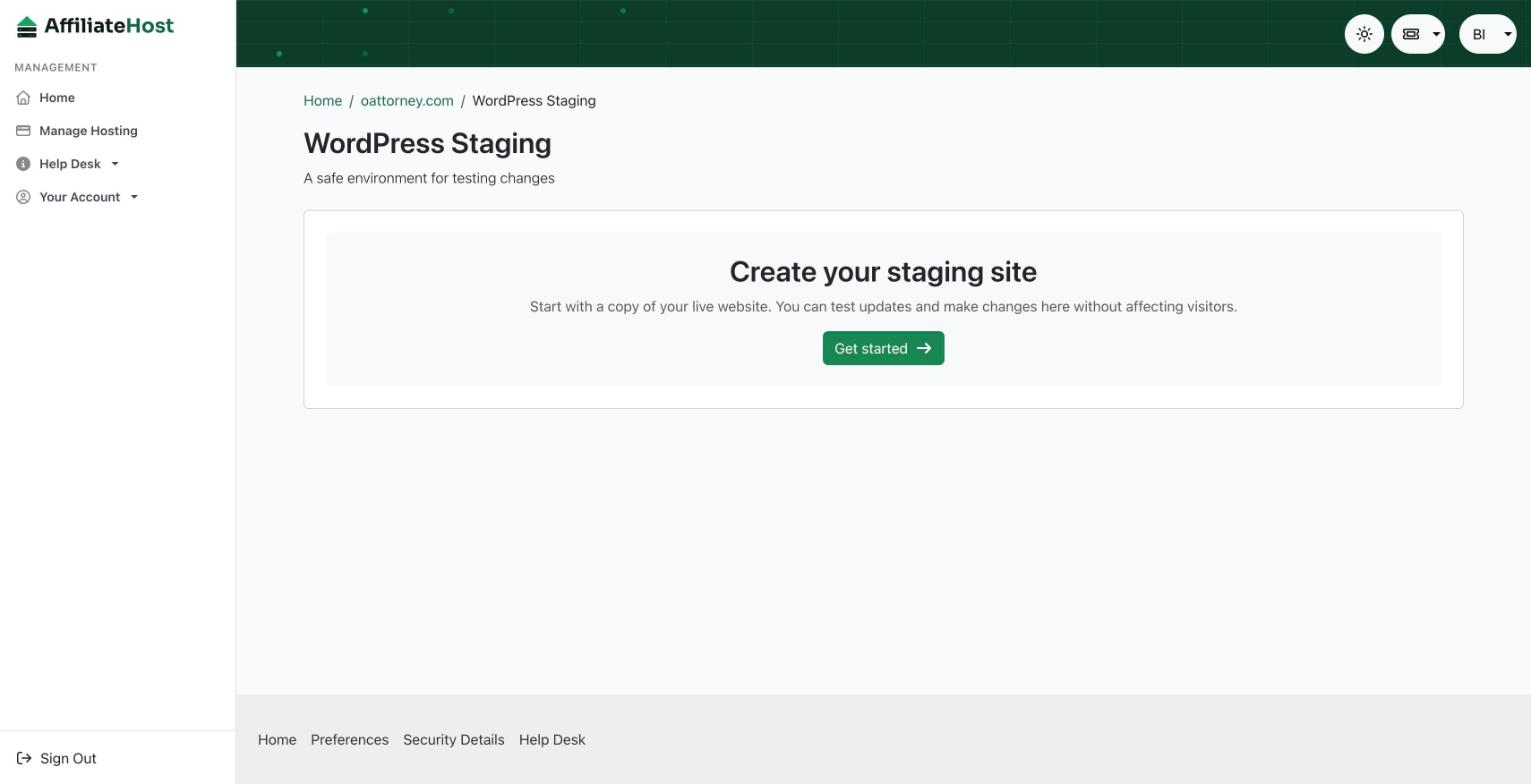
- Open the site's WordPress tools and choose Staging.
- Create the staging site. The panel copies files and database and shows the staging address when it is done. Large sites take a few minutes.
- Log in to the staging site's WordPress admin from the same screen.
Work on staging
Treat it like the real thing: install the plugin, switch the theme, edit the template. Check the pages that matter most for an affiliate site, usually your top ten earning posts, your comparison tables, and your disclosure page. Look at them on a phone as well as on a desktop.
Keep in mind that the staging copy is a snapshot. Posts you publish on the live site after creating it will not be on staging, and posts you write on staging will be pushed over the live ones if you push the database. For a content site, the usual rule is: design and plugins on staging, writing on live.
Push changes live
- Back in the Staging screen, choose Push to live.
- Pick what to push. If the tool offers files and database separately, pushing files only is the safe choice when you have published new posts on the live site since creating staging.
- Confirm. The panel takes a backup of the live site first, so you can roll back if the result is not what you expected.
Cloning for a new site
The same tools can clone a site to a different domain on your plan. That is the fastest way to start a new niche site with your usual theme, plugins, and settings already in place: add the new domain in your account area, then clone your template site onto it from the control panel.
Tidy up
Delete staging copies you are done with. They use storage and they are one more WordPress install to keep updated. You can always create a fresh one in a minute.
Was this helpful? If something here is unclear or out of date, tell us and we will fix it.
Related articles
Detailed control panel how-tos live in the Help Desk inside your control panel. Open it from your account area.